Icons on the left of the recent files list represent filters that can help you view only relevant items, like images, folders, downloaded files and so on.
The filter on top shows all files tracked by Trickster, so in fact it’s not really a filter ![]() You can learn the names of the rest of the filters by holding and pausing a mouse cursor over the relevant filter icon for a couple of seconds.
You can learn the names of the rest of the filters by holding and pausing a mouse cursor over the relevant filter icon for a couple of seconds.
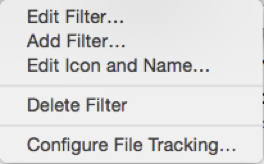
You can rearrange the order of the filters by dragging and dropping a relevant filter to a desired location. You can edit a filter, its name and icon, delete it or add a new filter by selecting a relevant option from filter pop-up menu, shown when you right-click (or Control+click) on a filter icon.
You can access the same functionality from the Filters Menu, invoked by clicking a button at the bottom left of Trickster window:
When editing an existing filter or adding a new one in the Filter Editor shown below, you will be able to select which file extensions or types to include, which folders to include or exclude and more. You can learn more about each setting by holding a cursor over the relevant button.
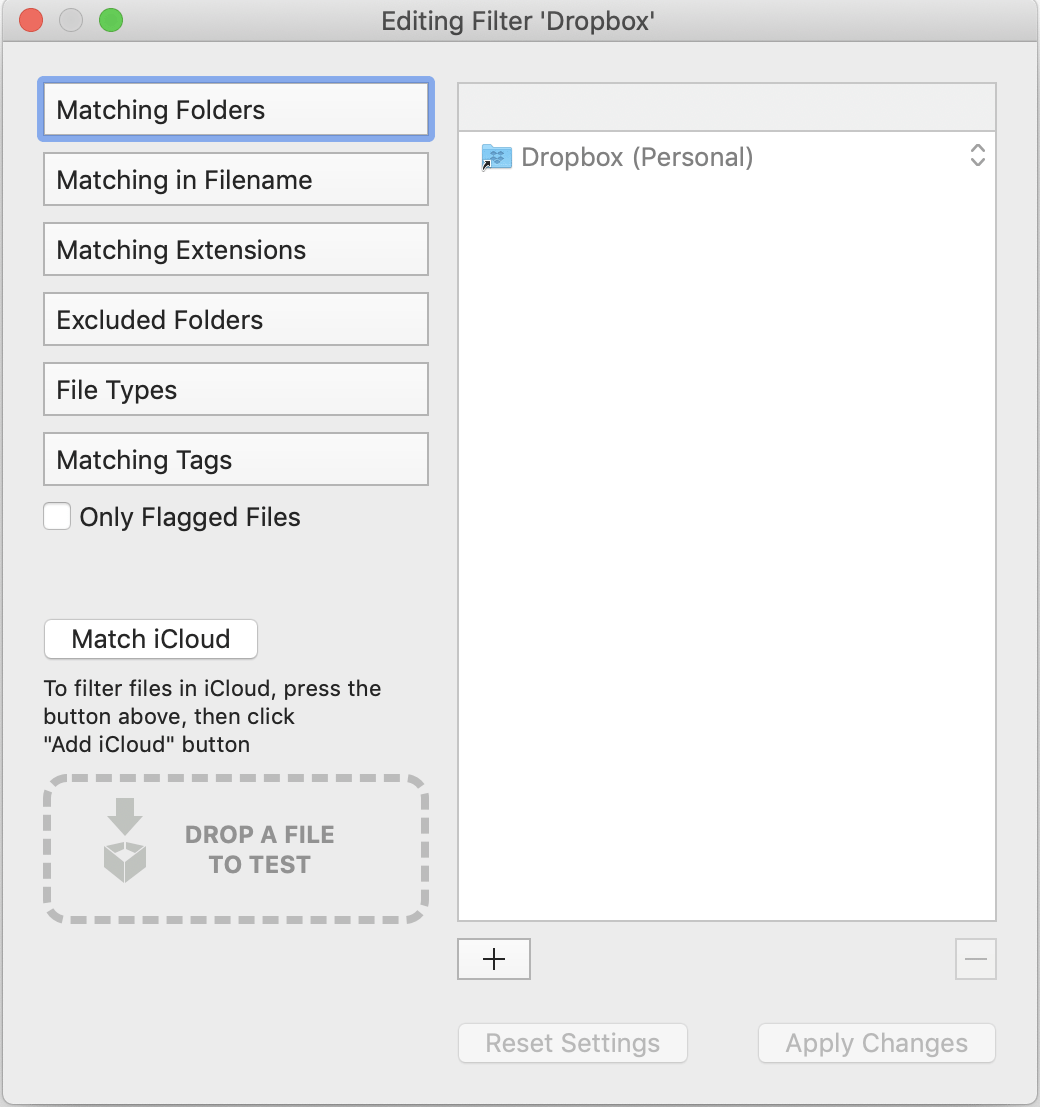
Testing a filter
You can test your filter settings by dropping any file into the “Drop a file to test” area. This checks whether that file passes the set of currently defined filtering rules. Note: It does not take the global File Tracking Configuration rules into account.
Next → 4 - Favorites sidebar